Microgreens are the fastest path from seed to plate in any kind of indoor growing. Most varieties go from dry seed to harvest in 7–14 days, you don't need a grow light for the easy ones, and a single tray costs less than $2 to produce.
What you actually need
- Two 10x20 trays (one with drainage holes, one without).
- An inch of coco coir, peat, or a hemp grow mat.
- Seeds rated for microgreens (much cheaper per ounce than packet seeds).
The 10-day routine
Day 1: Soak seeds 6–8 hours (skip for tiny seeds like broccoli).
Days 1–3: Spread seeds densely on damp medium, cover with the second tray for darkness, and mist twice daily.
Day 4: Uncover. Move to a bright window or under a basic LED.
Days 5–9: Water from below by pouring into the bottom tray. Never mist the leaves once they're up.
Day 10: Cut just above the soil line with scissors.
Best beginner varieties
- Radish — explosive growth, peppery kick.
- Pea shoots — sweet and tendril-y; great in stir fries.
- Broccoli — mild flavor, packed with sulforaphane.
- Sunflower — nutty, crunchy, the "gateway green."
The most common failure
Mold. It's almost always caused by too much misting after germination, poor airflow, or seeds spread too thickly. Use a small clip-on fan and water from below — problem solved.
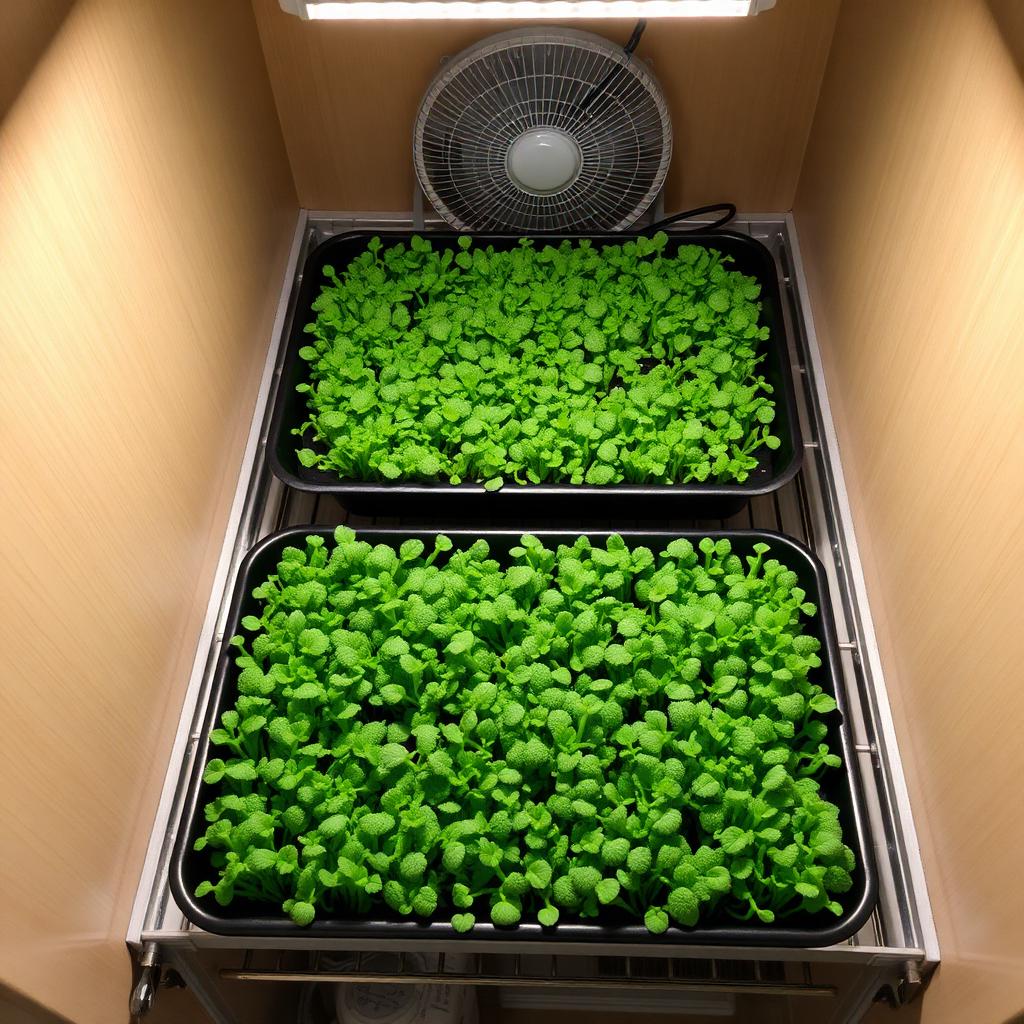
A two-tray rotation that gives you greens every weekend
The trick to a steady microgreens habit is overlap. Sow tray A on Saturday morning, tray B on the following Wednesday. By the time tray A is ready to cut on day 10, tray B is already uncovered and three days from harvest. You replant the empty tray immediately and the rotation self-sustains indefinitely from two trays and a single shelf of light.
The mold prevention rules that actually work
Mold is the single most common reason beginners abandon microgreens after one tray. Three interventions, in priority order:
- Water from below, never from above. Misting after germination is the leading cause of fuzzy seedlings.
- Put a small clip-on fan on a timer. Four hours a day of gentle airflow drops mold incidence to nearly zero in our trials.
- Sow less densely than you think. Crowded trays trap humidity around the seed coats and create the perfect mold environment.
What microgreens cost versus what they sell for
A 10x20 tray of broccoli microgreens uses roughly 30 g of seed (£0.90), one hemp mat (£0.40) and a splash of water. It harvests around 250 g of cut greens — which retail in UK supermarkets for £20+ per kg. The maths is the reason a lot of small market-garden businesses start here.
Frequently asked questions
Are microgreens really more nutritious than full-grown veggies?
Many varieties contain 4–40x the vitamins and antioxidants of the mature plant, gram for gram.
Can I regrow them after cutting?
Pea shoots will give a small second cut. Most other microgreens are one-and-done — compost the root mat and start a new tray.
Comments (0)
Join the conversation. Be kind — offensive language is automatically filtered.
Loading…
Loading comments...
Keep reading
Plant Picks
Best Plants for Hydroponics (Easy → Advanced)
13 plants ranked from no-fail to advanced. Start at #1, work down as you build confidence.
Beginner
Hydroponics for Beginners: A Complete Starter Guide
What hydroponics is, the 6 main types, and exactly which one to pick if you've never grown a plant.
Plant Guides
How to Grow Basil Indoors Hydroponically (Step by Step)
From seed to first pesto in 4 weeks — the exact setup, lighting, and pinching schedule.